Obscene Studio Setup
Welcome! This guide will help you download and install Obscene Studio, and activate it with a free license. Let's get your live stream transformed in no time.
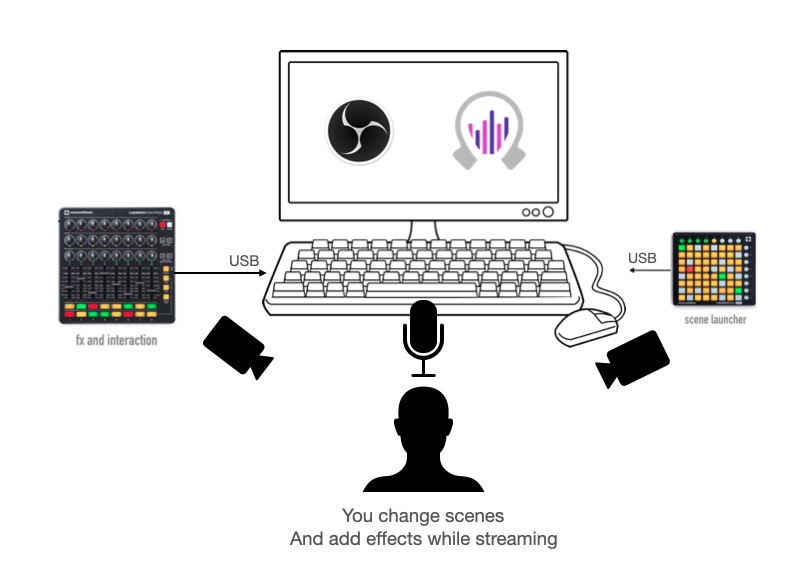
1 - Download, Install, and Run Obscene Studio
- Download Obscene Studio
- Install Obscene Studio on your computer
2 - Configure OBS to Use Obscene Studio
2.1 - In Obscene Studio:
Launch Obscene Studio
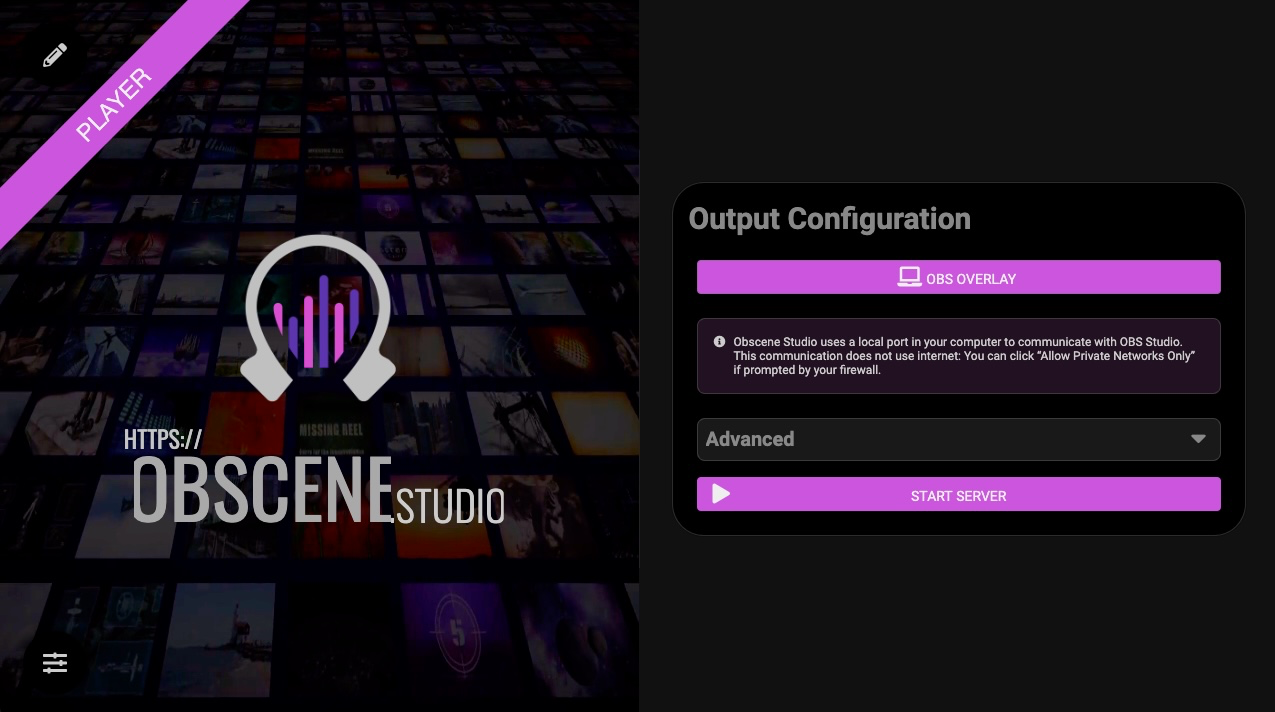
Click "START SERVER"
Security Note: When you click "START SERVER" on Windows, you might see a Firewall warning. Choose the FIRST option ONLY (Local Network): 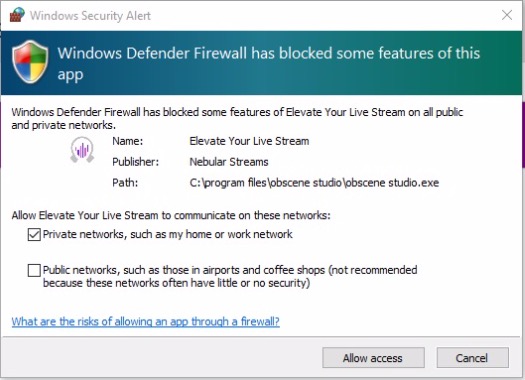 This ensures that no one outside your home network can access your OBS Studio/Obscene Studio setup. While Obscene Studio enforces this restriction, using Windows Firewall adds an extra layer of security.
Copy the Overlay URL using the copy button.
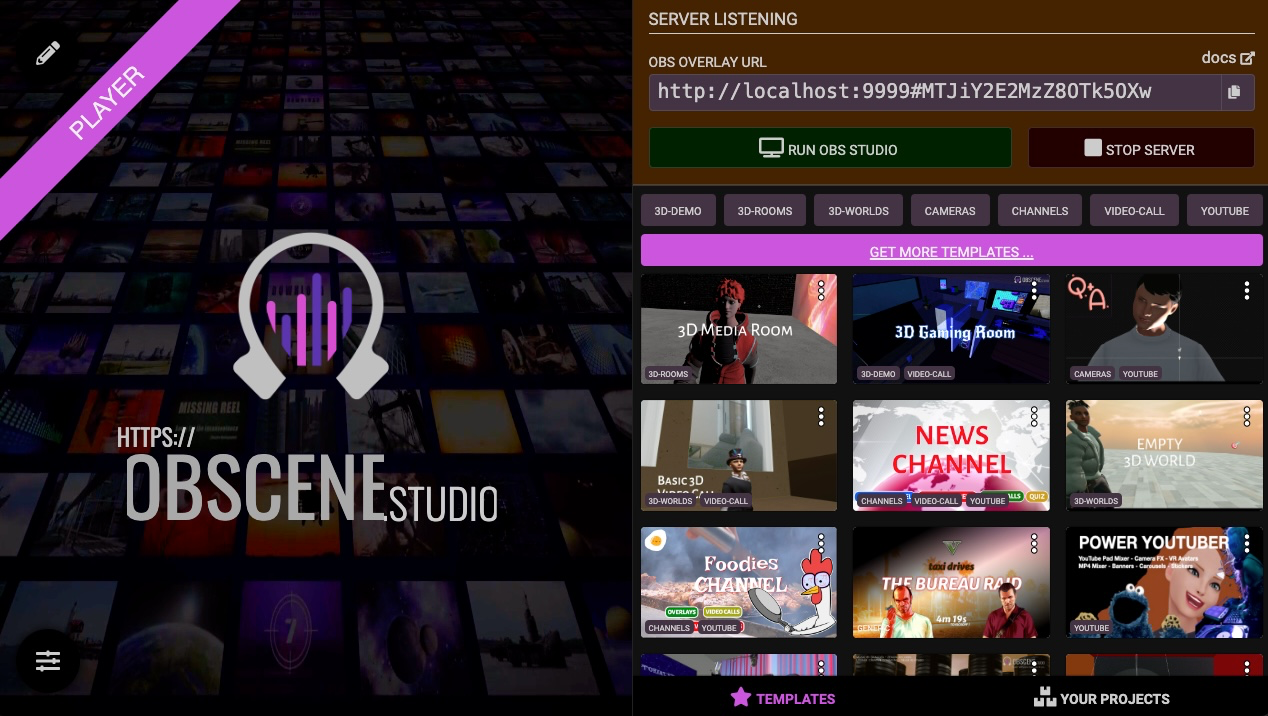
Click "Run OBS Studio." This will launch OBS Studio with the necessary settings for proper camera and media display.
2.2 - In OBS
With OBS running, let’s set up the Obscene Studio Overlay. Here’s a quick overview. For more detailed instructions and tips, check out the Setup the OBS Overlay guide.
2.2.1 - Add a Browser Source to your scene, over your live stream
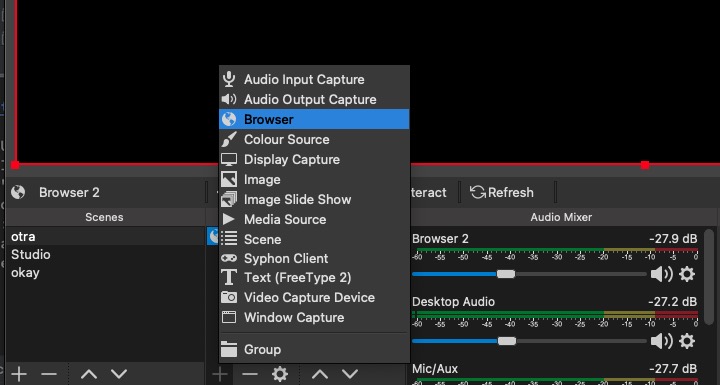
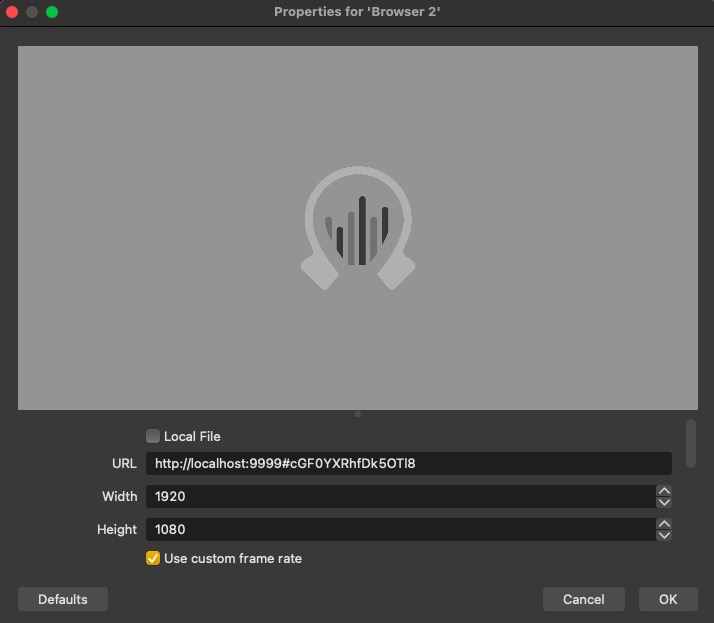
2.2.2 - Go to "Properties," and paste the URL you copied earlier.
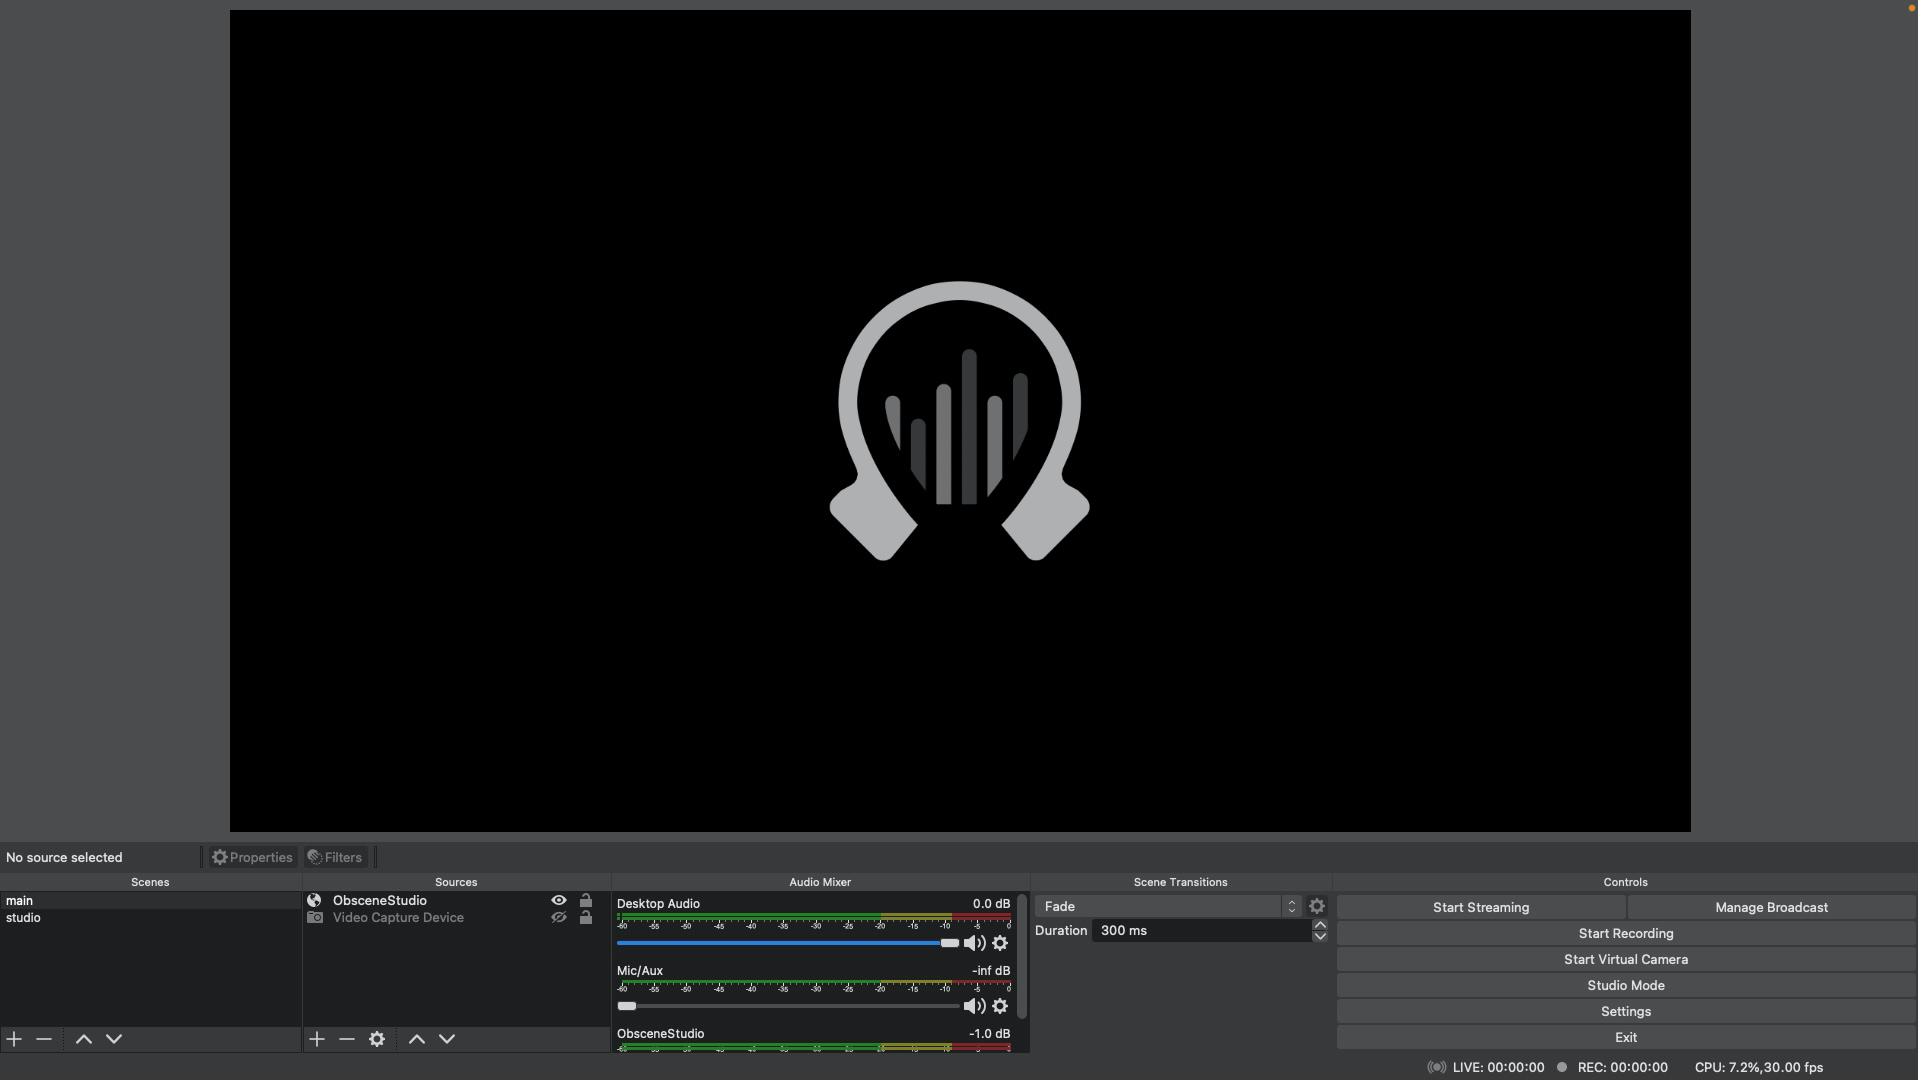
If everything is set up correctly, you should see the Obscene Studio logo in OBS.
Now, any storyboards you open in Obscene Studio will be displayed here, and OBS scenes will be controlled by Obscene Studio according to your storyboard configuration.
Video Tutorial

