Using Obscene Studio
At this point, you have successfully installed and activated Obscene Studio, as explained in the previous section Getting Started.
Now it is time to run the application and create your first project.
Create or load a Storyboard
When you start Obscene Studio, the initial screen is displayed.
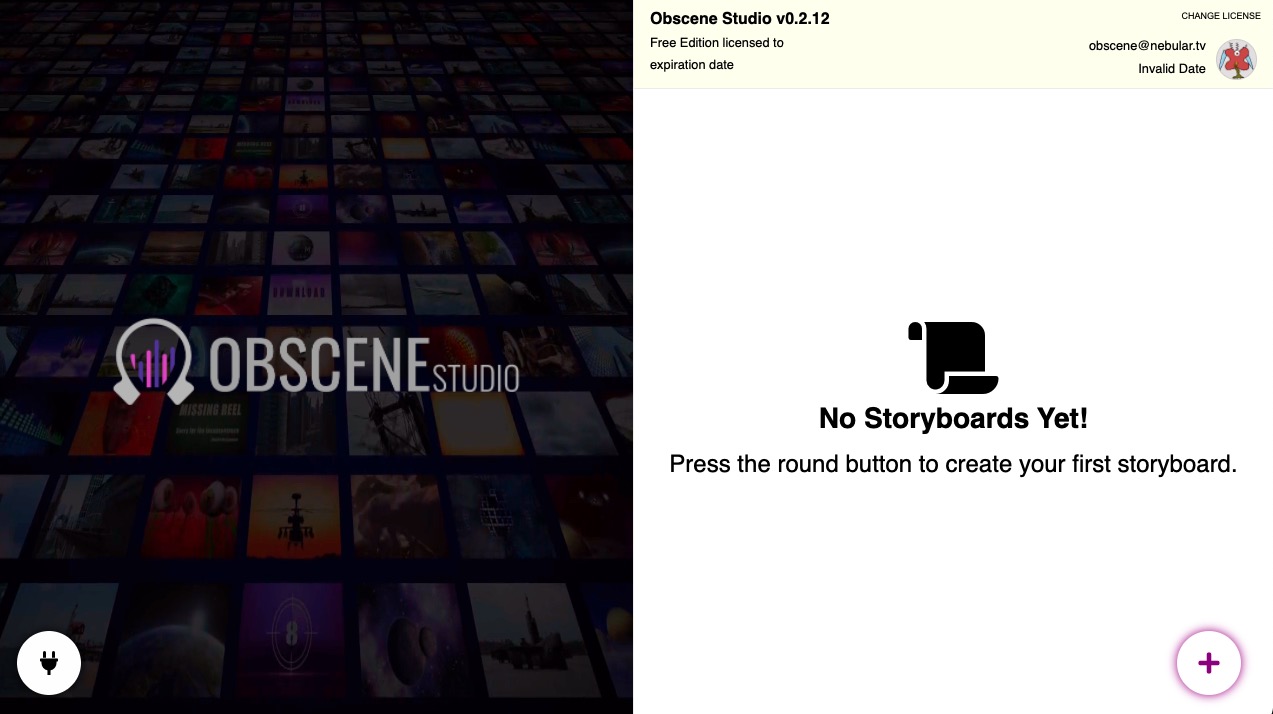
If it is the first time you run the application, you will not have any Storyboards created yet.
- for example, you can have one or several Storyboards for video reactions, others for live-streaming a specific game, another one for reviews and featured content … your needs and imagination are the limit
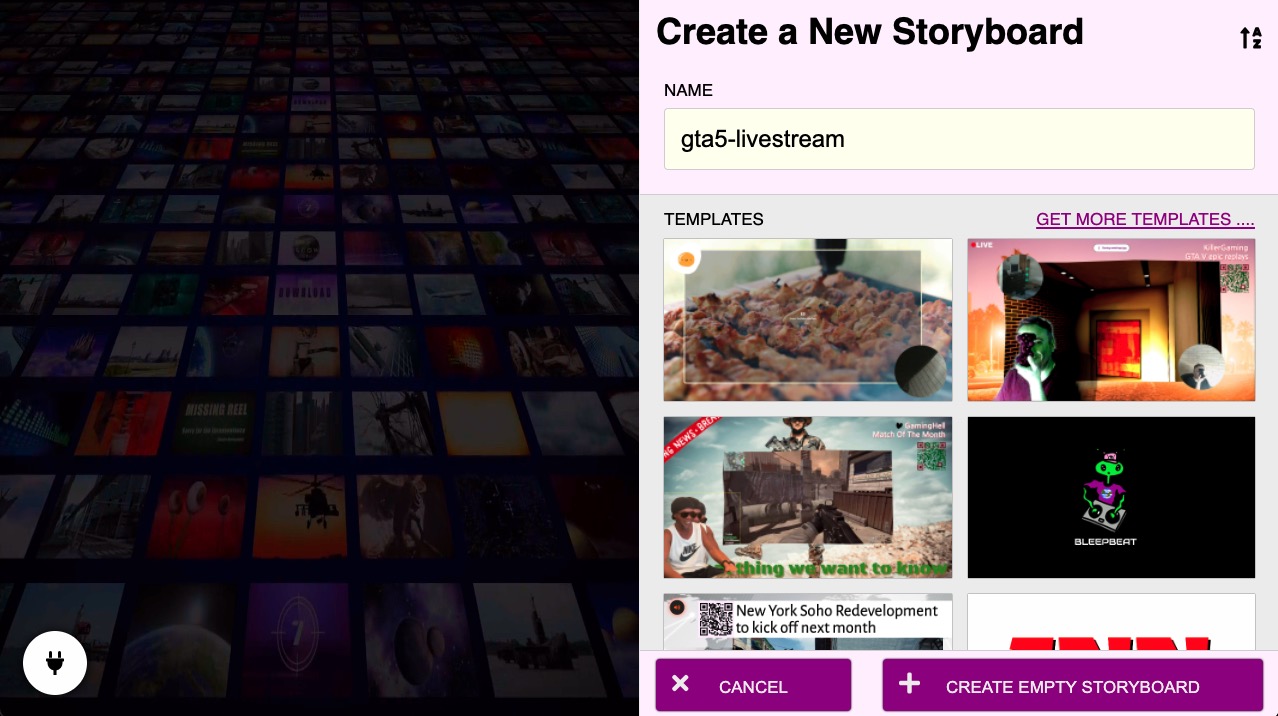
Creating your first storyboard
Create your first storyboard by pressing the big floating "+" button in the screen above.
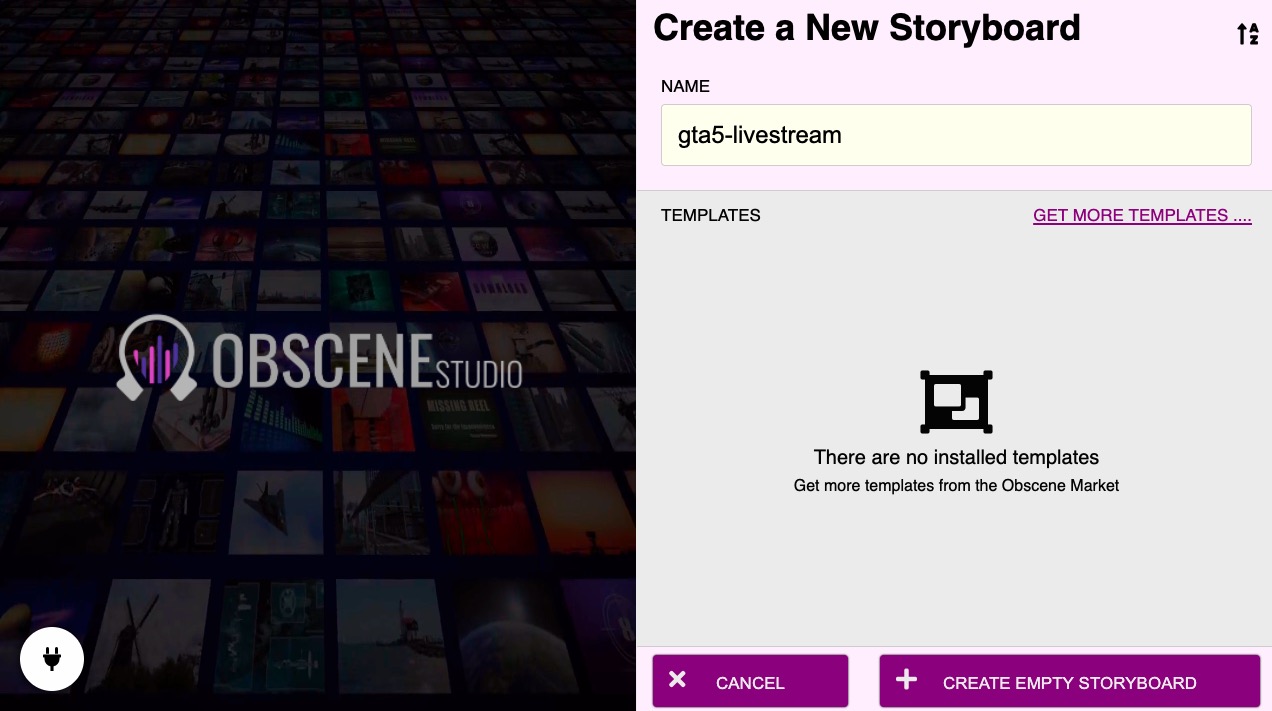
Just type a name for it, for example your channel name.
You can then decide to create an empty storyboard, or use an existing template.
Installing a new Template
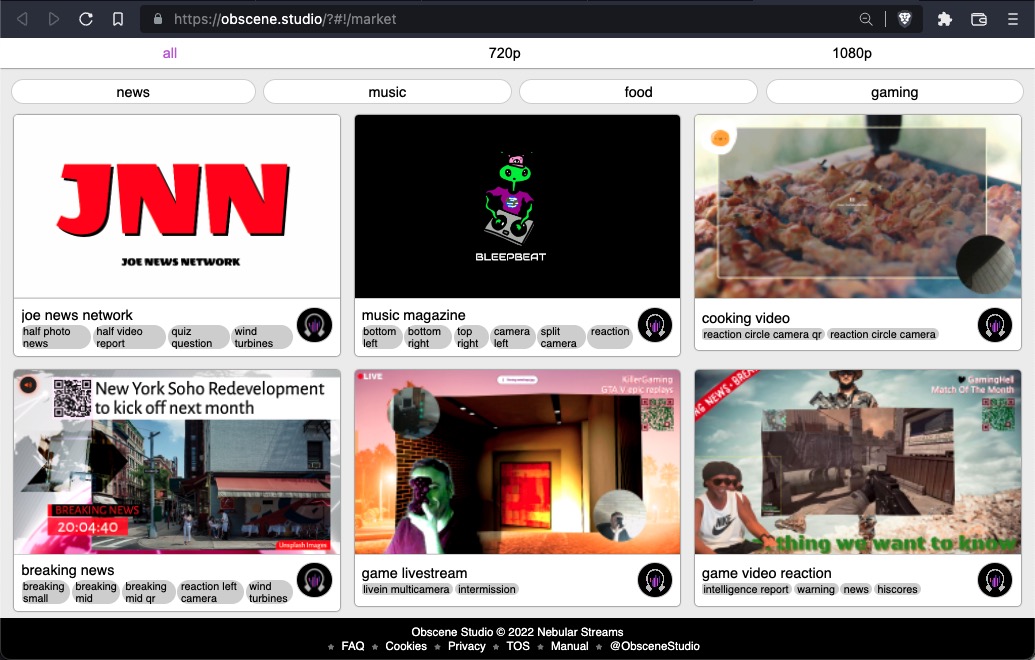
The Obscene Market contains at the moment just a bunch of very basic templates, but will be hopefully full of awesome contributions!
- Select a template you like to see its details and download it:
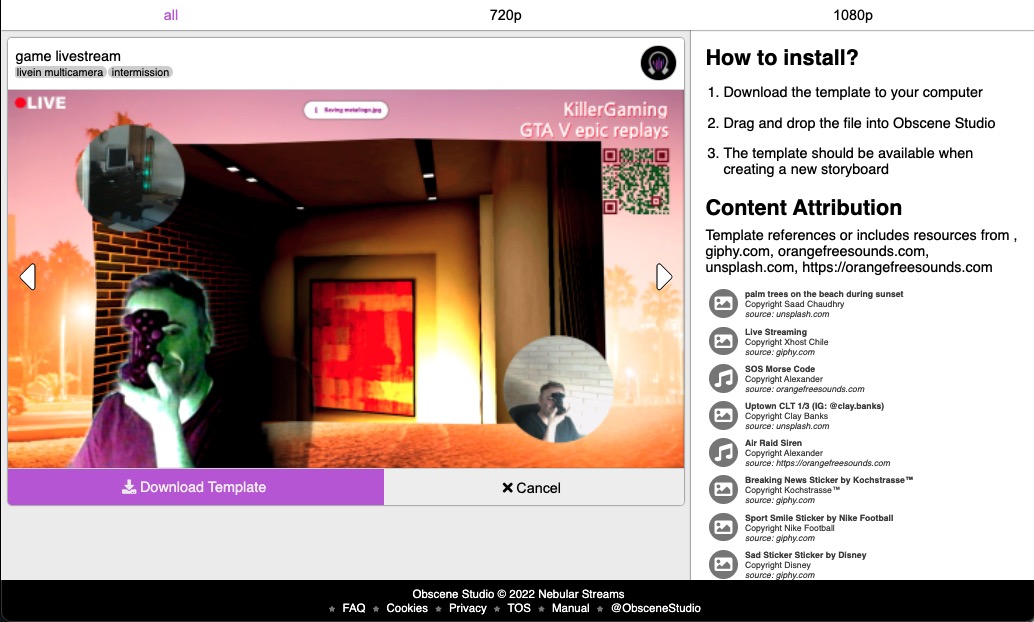
After downloading the template
- drag it from your downloads folder into the running Obscene Studio Application.
- re-enter "Create a new storyboard" if not already on that screen
The screen will now display your new installed template, and you can create your new storyboard using it.
- Just click on the template to select it
- Then press the button "CREATE".
Things you learned in this page
You now know how to:
- Create a new Storyboard from scratch or using a template
- Install new Templates from the Obscene Market
- Or continue your work by selecting a previously saved storyboard.
Next Steps
- Learn about basic usage in the Workflow guide.
