The EDIT MODE
The EDIT MODE is the most important Operating Mode of Obscene Studio. Using this mode you will be creating your scenes, adding videos, cameras or audio tracks, configuring the midi mappings, or synchronizing your scenes with the different OBS Studio scenes.
Using the EDIT MODE
The EDIT MODE is the default mode when you first load a Storyboard. If you are familiar with software like Microsoft PowerpointTM or Apple KeynoteTM, you will find yourself at home: It is very easy to design your scenes using the on-screen tools, and your mouse or touch panel.
When do you use the Edit Mode?
- You can prepare your scenes while not streaming and save them in your computer for a later use.
- You can also enter and exit EDIT MODE while Streaming, and create content on the fly, by using the Play / Pause Button.
Edit Mode: User Interface
Let´s describe every component of the interface and its associated funcionality.
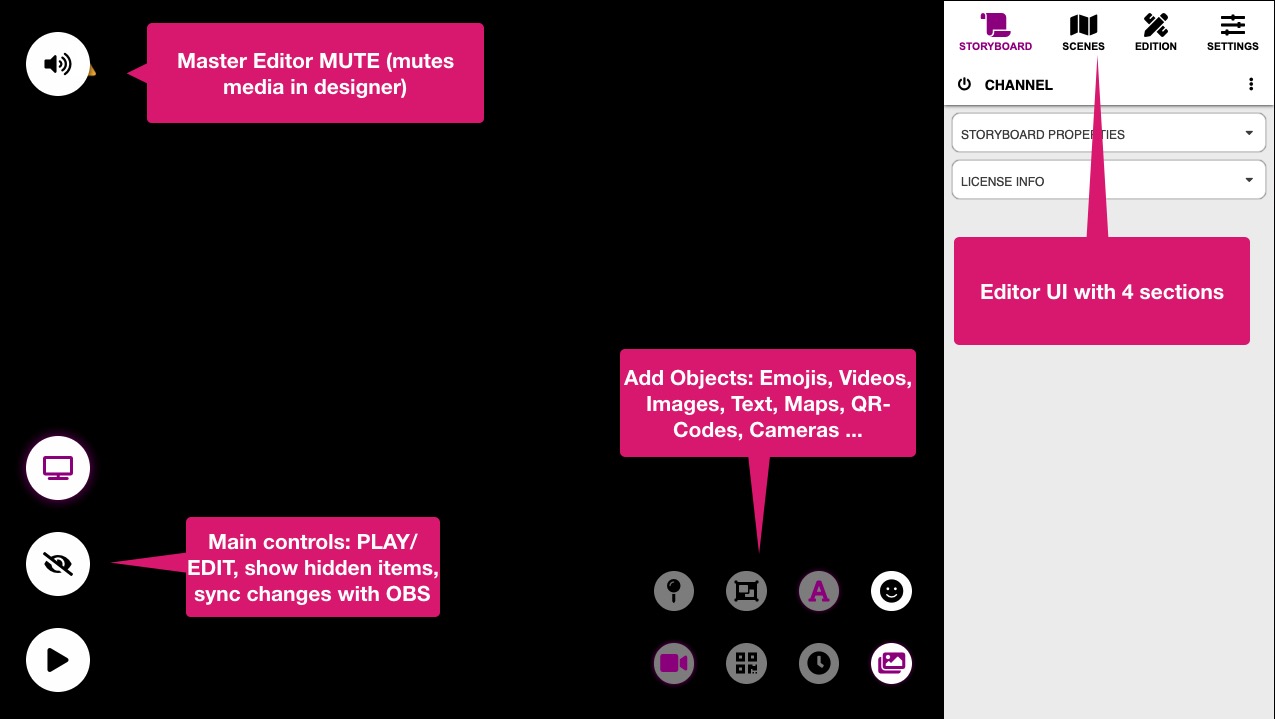
- The Side Panel displays the contextual properties of the selected object or tool.
- The Big Floating Buttons control global functionality, like Operating Mode, Mute, or Save / Sync.
- The Small Floating Buttons in the workspace allow you to insert new items into the scene.
The Side Panel
The Side Panel displays contextual information about the currently selected object or operating mode.
| Section | Purpose |
|---|---|
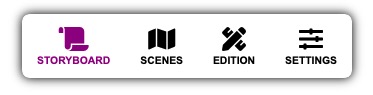
| STORYBOARD |
Contains the main storyboard properties, such as the Scene Size, Default Font, or Watermark Scene configuration |
| SCENES |
Displays the SCENE MAP, where you can quickly select any of your created scenes, or create new ones in free slots. Also displays the interactive controls for the current scene. |
| EDITION |
Displays the properties of whatever you click on the workspace, ie, an image, a video … you can then further edit its properties in the displayed cards. |
| SETTINGS |
Displays the Application Settings, where you can setup your MIDI Devices, adjust UI preferences or setup your connection to OBS Studio. |
Check out the Side Panel page for further details about the Side Panel.
The Big Floating Buttons
These buttons control global functionality, like the Operating Mode (Edit/Perform), Mute, or Save / Sync to OBS Studio operations.
Main Play/Stop Button
The Main Button is the Play/Stop button at the screwn corner. This button controls the Operating Mode (Edit or Peform), and displays different icons depending on the current status. Pressing SHIFT key performs an alternate action, as detailed in the following tables:
| Play Button Display | Shift? | Action on click |
|---|---|---|
 |
NO | Enter PERFORM Mode, restarting the current scene |
 |
YES | ENGAGE into PERFORM MODE, changing to the Scene that OBS Studio is playing at the moment |
While on PERFORM MODE, you can go back to EDIT MODE and leave OBS Studio undisturbed, or stop the performance and change to a blank scene:
| Play Button Display | Shift? | Action on click |
|---|---|---|
 |
NO | Exit PERFORM MODE (back to EDIT MODE) and leave OBS Studio undisturbed |
 |
YES | stop the performance and change to a blank scene |
Save / Sync Button
The save/sync button, if displayed, sits above the Play/Stop button, and allows to save your latest changes (and update also the remote screen if connected), or just update the remote screen without saving the latest changes.
| Save/Sync Button Display | Shift? | Action on click |
|---|---|---|
 |
NO | Save changes to storyboard |
 |
YES | Synchronize changes to OBS Studio Screen (without saving) |
Rest of buttons
| Button | Action |
|---|---|
 |
Mute media in the Editor Preview (OBS Studio Media is unaffected) |
 |
Show all objects, even if hidden by animations, masks or MIDI mappings |
The Small Floating Buttons
The Small Floating Buttons allow you to insert new items into the current scene (or the selected container). Some buttons can be clicked while holding SHIFT, to insert variations of that object (i.e. a Text Marquee).

| Button | Normal Action | Action with SHIFT |
|---|---|---|
 |
Insert a camera. You can insert several camera instances, and add different effects to each one. | Choose special camera to insert |
 |
Insert a QR Code. You can then configure the URL or message to encode, and the QR colors. | - |
 |
Insert a Multi-Text Ticker, that displays different messages in a loop | - |
 |
Insert a Map, choosing from different map providers. You then can add markers and views of interest to the map. | - |
 |
Insert a Container for grouping other items | - |
 |
Insert a Text Box | Choose special text box to insert: Marquees … |
 |
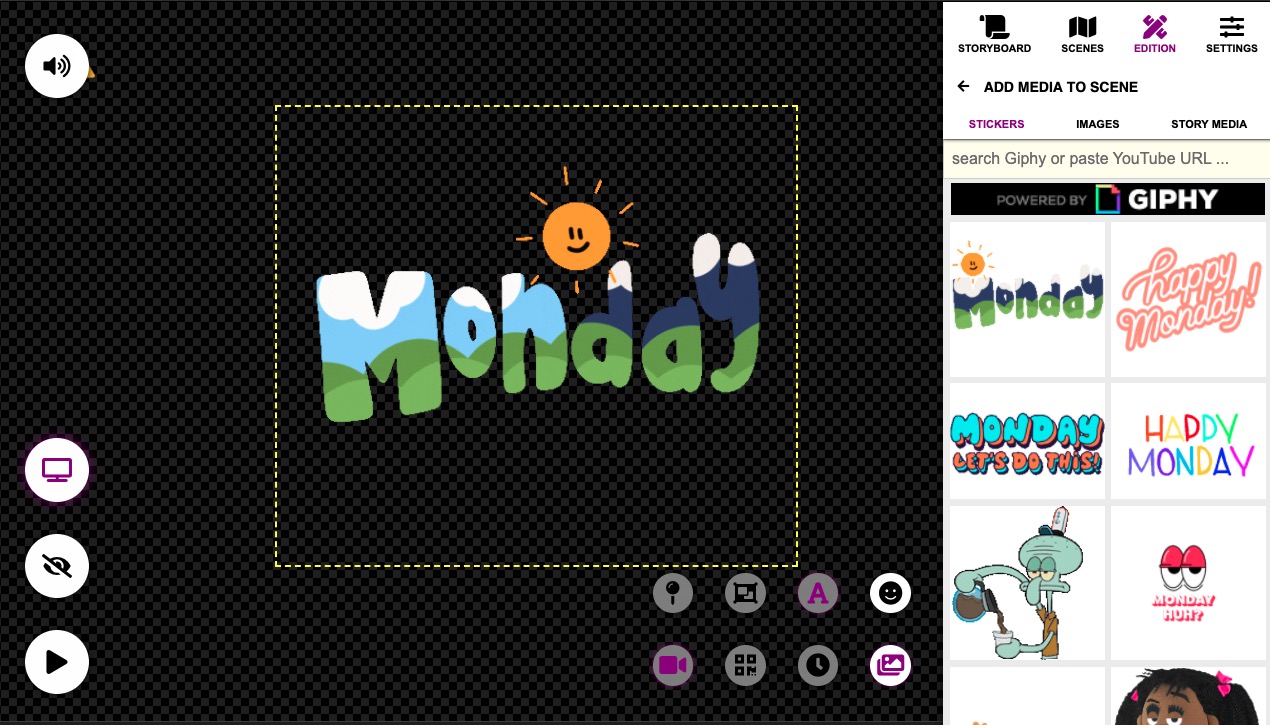
Search / Select and add an image or video to the scene. Use media from your computer, UnsplashTM, GIPHYTM or YouTubeTM | Choose special image box: Carousel, … |
 |
Select and add an emoji to the scene |
Edit Mode: Recap
The main takeaways about the Edit Mode
- It is the Mode where you can create new scenes, or modify existing ones
- You Enter and Exit Edit Mode with the Play Button
- The Side Panel displays the contextual properties of the object clicked in the workspace
- The Small Floating Buttons allow you to add new Objects to the Scene.
Next Steps / Related Pages
- Take a look at the Side Panel documentation to learn what is displayed inside.
- Visit the pages for the Text Box, Multi-Text Box , QR Code , Emoji, Map, Camera , Video, YouTube Video, Container
- Learn about the Watermark Scene, the Current Scene and how Scenes are rendered in the Scene Rendering documentation.
